We have created several specialized Umbraco document types to display spreadsheet data from Excel replicating the exact look of the underlying spreadsheet. We have also developed a fast and easy method to update the relevant web page with updated content from spreadsheets.
Example: Updating Jeopardy spreadsheet
http://surgeryresidentportal.ucsf.edu/schedules/current-schedules/jeopardy.aspx
Note: It is strongly recommended that each spreadsheet used to update Umbraco be housed in a separate Excel file. For example, the Jeopardy Schedule should be the only worksheet in the Excel file used for the update. If you maintain multiple spreadsheets that will be used to update Umbraco, please maintain each file separately.
1. Edit the jeopardy spreadsheet in Excel and save the file.
2. Then "Save As" Web Page
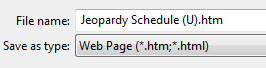
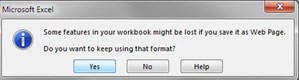
Say "Yes" to all warnings
3. Immediately close the .htm file created. You don't need it for anything.
![]()
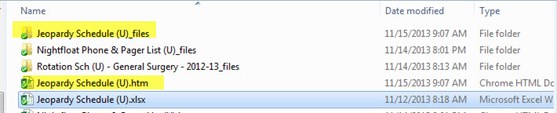
4. The following files were created or updated by step 2.:
- Jeopardy Schedule (U).htm - This file plays no role and should be closed.
- Jeopardy Schedule (U)_files - This is a folder containing the following files needed for the update:
- sheet001.htm - Cells to copy
- stylesheet.css - stylesheet to attach

5. Login to Umbraco and navigate to the Jeopardy Page in the tree.
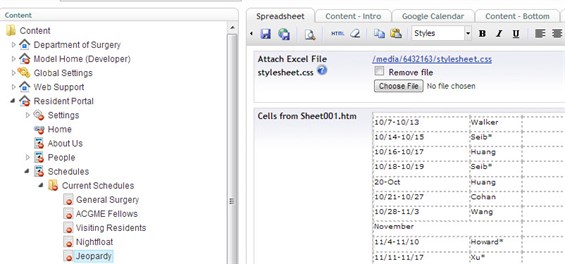
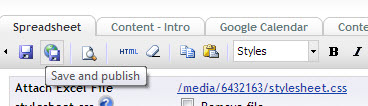
6. In the spreadsheet tab, there are two fields as shown above.
7. Press "Choose File" and select "stylesheet.css" from the Excel files on your local PC (desktop). See step 4 above.
8. Remove (select and delete) all cells in the 2nd field "Cells from Sheet001.htm
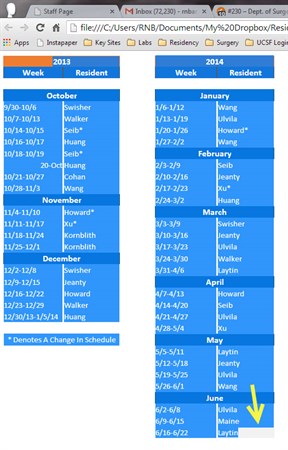
9. Open "Sheet001.htm" from your local desktop. Select the cells by dragging your mouse pointer through the document. (Please do not select all with CTRL A.) When you are finished, the last selected cell should be at the point shown with the yellow arrow (end of actual text). Selecting beyond this point may not copy the cells correctly which would be immediately apparent in Umbraco.
10. Copy and paste the cells into the now empty 2nd field.
11. Save and publish the document.
12. Check the Jeopardy page on the website to ensure it published correctly.
13. If desired, you may now delete all of the files created using the "Save As" function above. Or you may leave the files in place and simply overwrite them the next time you update the spreadsheet.